Installing a fence requires lots of smaller decisions. The material, the height, where to add a gate, what the exact perimeter will be, and more.
One of the most important fencing decisions you’ll make is how to set the posts. Stay tuned as Top Rail Fence breaks down dry setting vs. wet setting vs. post-pounding. We’ll cover what it involves, the pros and cons, and tips for success.


Dry Setting Fence Posts
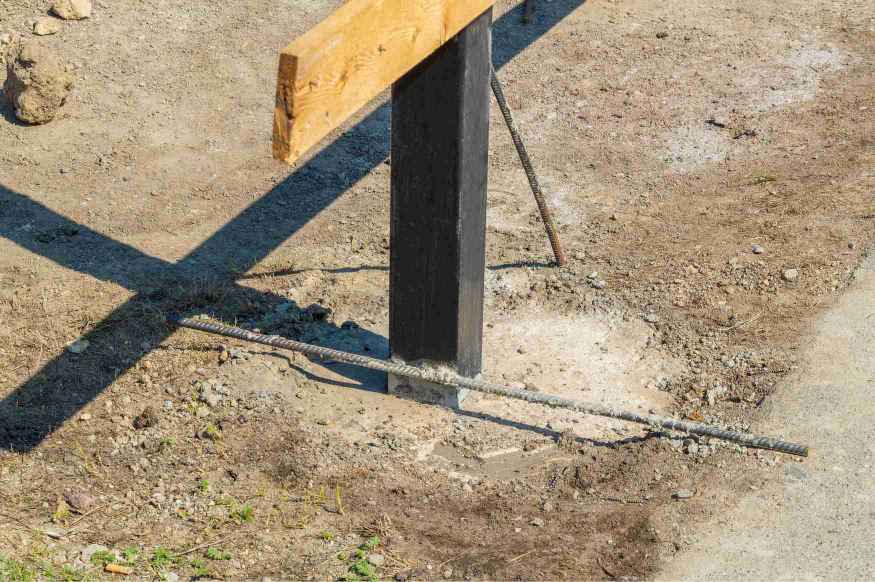
Dry setting is where fence posts are positioned in holes filled with a layer of gravel at the bottom and packed dry cement on top. This is a go-to method for fast installations since you do not have to wait for the cement to dry before installing the fence panels.
The gravel at the bottom of a dry-set fence post is also useful for rainwater drainage, potentially extending the life of some fence posts.
| Pros of Dry Setting | Cons of Dry Setting |
| Fast, no cure time | No additional time to adjust or realign posts |
| Low ground disturbance | Doesn’t do well in loose soil |
| Offers good drainage | |
| Good for clay soil |
How do you dry set a fence post?
First, dig a hole at the appropriate depth. Consult a frost line map to identify the optimal depth for your location.
Add five to six inches of gravel to the bottom of the hole. Tamp it down and level it out. Now position the post. Have a second person hold it securely in place or use braces. You can also slowly add just enough dry concrete until it stands on its own. Either way, use a level to ensure it is perfectly vertical before adding more concrete.
Continue adding a few inches of concrete and tamping it down until no loose cement remains. Use the level between each round to ensure the post stays in position. The last fill should exceed ground level and not sink below ground level when adequately tamped.


Wet Setting Fence Posts
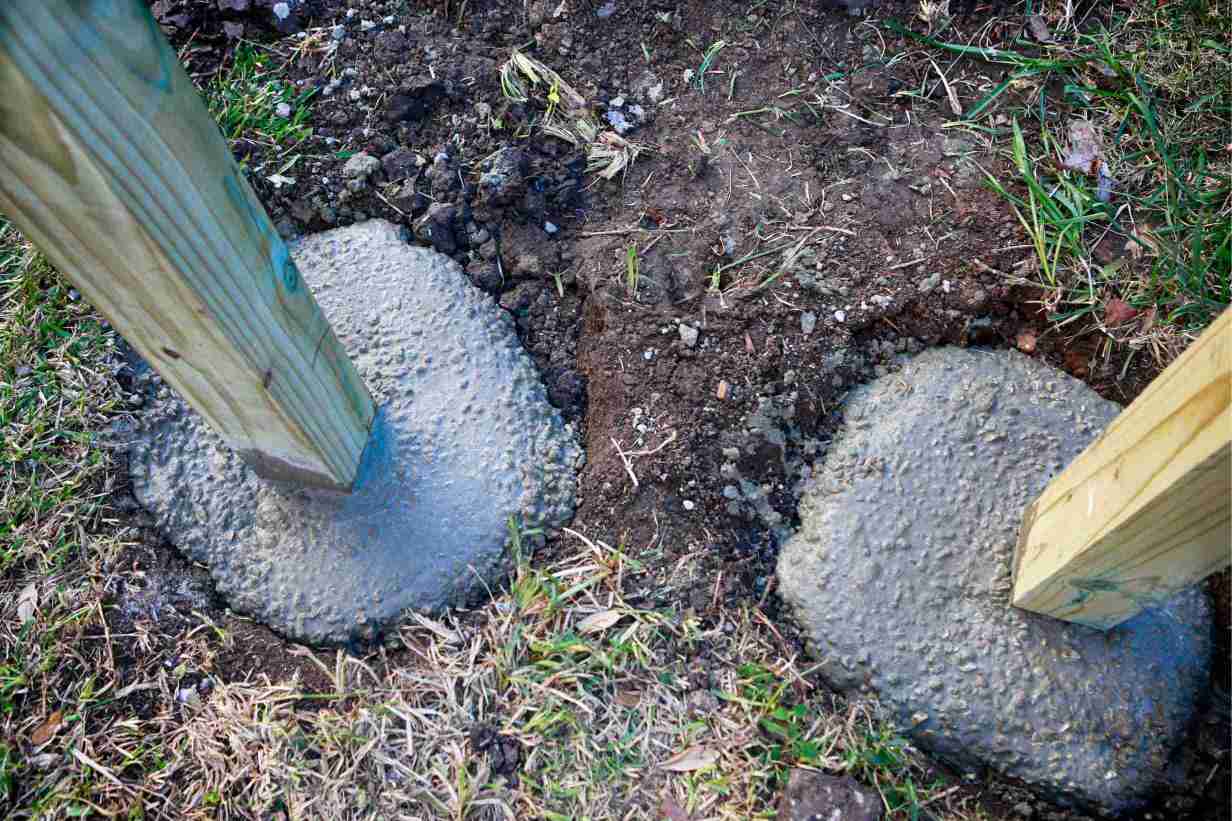
Wet setting uses wet concrete poured into a post hole around fence posts. This method is preferred for its long-lasting results. Patience pays off here as taking the time to adjust the posts to perfection and letting the concrete cure completely are crucial to success.
Wet concrete installation is a good solution for loose, shifting soil. Starting with a layer of gravel in the hole can also improve drainage with wet-set posts, but installation is quite different than dry-setting.
How to wet set concrete?
Carefully follow the directions on the bag of concrete. Some quick-setting ones take a few hours to dry but others will require a few days before the posts can bear weight.
| Pros of Wet Setting | Cons of Wet Setting |
| Durable for long-lasting permanent fence | May require more preparation |
| Posts can stand slight adjustments during cure | Requires wait time while curing |
| Good for less experienced DIYers | |
| Good for loose soil |
Setting posts in concrete without mixing:
Many propose a hybrid solution where installation follows the dry-set method but water is added in at the end.
It is best to use this method only if the instructions on the chosen concrete specify it. Some quick-setting brands (such as Quikrete) advise pouring dry concrete into the hole up to a certain height and pouring in water.
This only works because of the exact blend of materials in the mix. The no-mix method will not work with traditional concrete that takes a day or two to cure.
Also, note that this method still requires bracing to maintain the post’s position until the cement is completely set. Attach a 2×4 on either side of the post in a tripod configuration after placing the post in the hole.
Post Pounding
Post pounding is where the post is driven straight into the ground. It’s common in colder climates and with fences requiring a lot of wooden posts, such as agricultural properties.
An area where pounded posts can be beneficial is frost. Frost heaving occurs when ice forms underground and forces up objects underneath – such as a fence post encased in a mass of cement.
This is not common or likely to happen in most parts of the country and can usually be mitigated by digging post holes below the frost line. Still, it’s a key reason why people who must insert many posts in a colder area choose pounding.
The depth of a pounded post is one of its greatest strengths but warrants extra care to identify and avoid underground utilities.
| Pros of Post Pounding | Cons of Post Pounding |
| Fast installation | Best done by the pros |
| Good for freezing climates | Exercise caution near underground utilities |
| No mess, little prep | |
| Least amount of ground disturbance |


What are fence posts pounded in with?
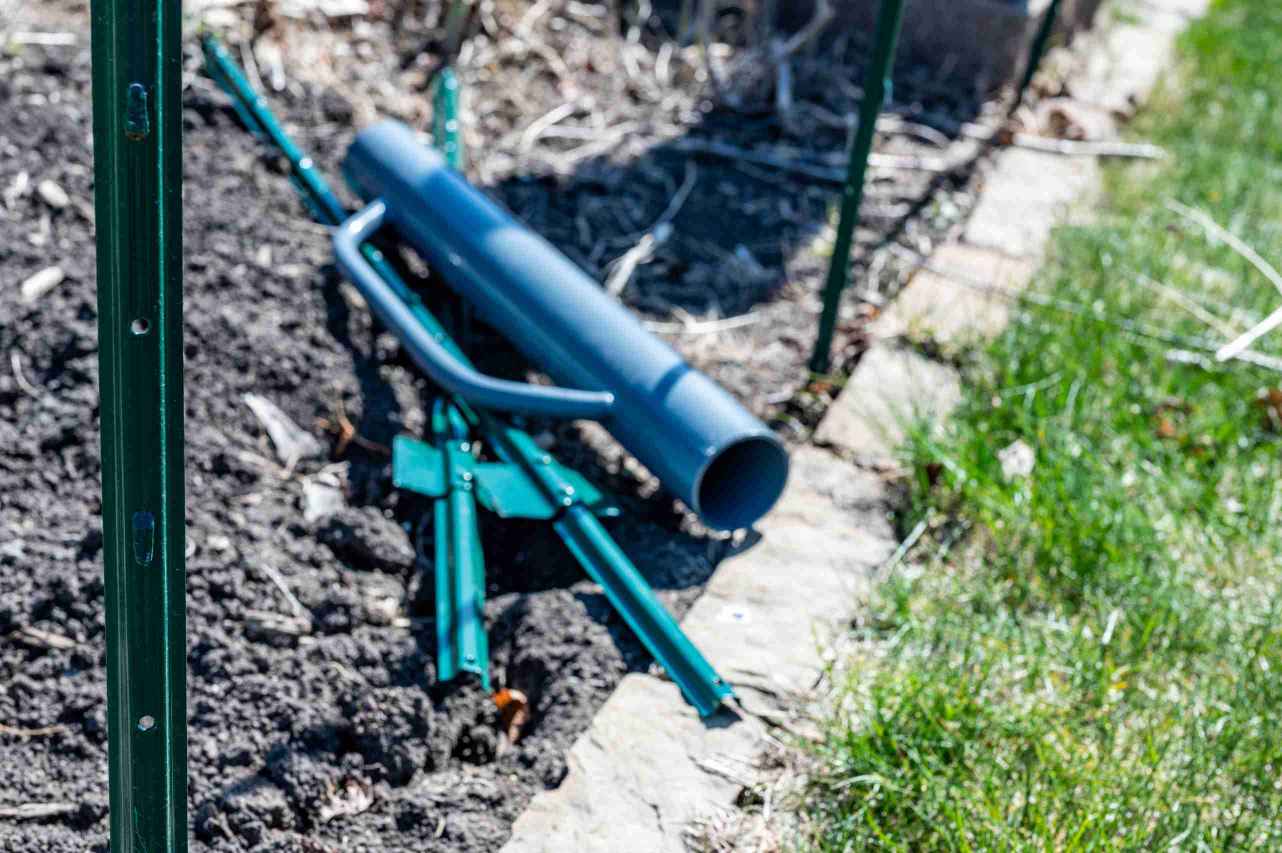
Pounded posts can be hammered in manually but are usually installed with a fence post driver. Post drivers can be manual or gas-powered and consist of steel cylinders with a handle on either side. The open end of the driver fits over the post so it can be hammered into the ground.
Not sure which is right for your fence? Talk to Top Rail Fence.
Choosing dry setting vs. wet setting vs. post pounding is not always straightforward. The size and material of your fence, soil quality, and long-term objectives all make a huge difference.
An expert from Top Rail Fence can help with any size project, residential or commercial. Contact us today to request a free estimate, and we can nail down the right method and material together.


