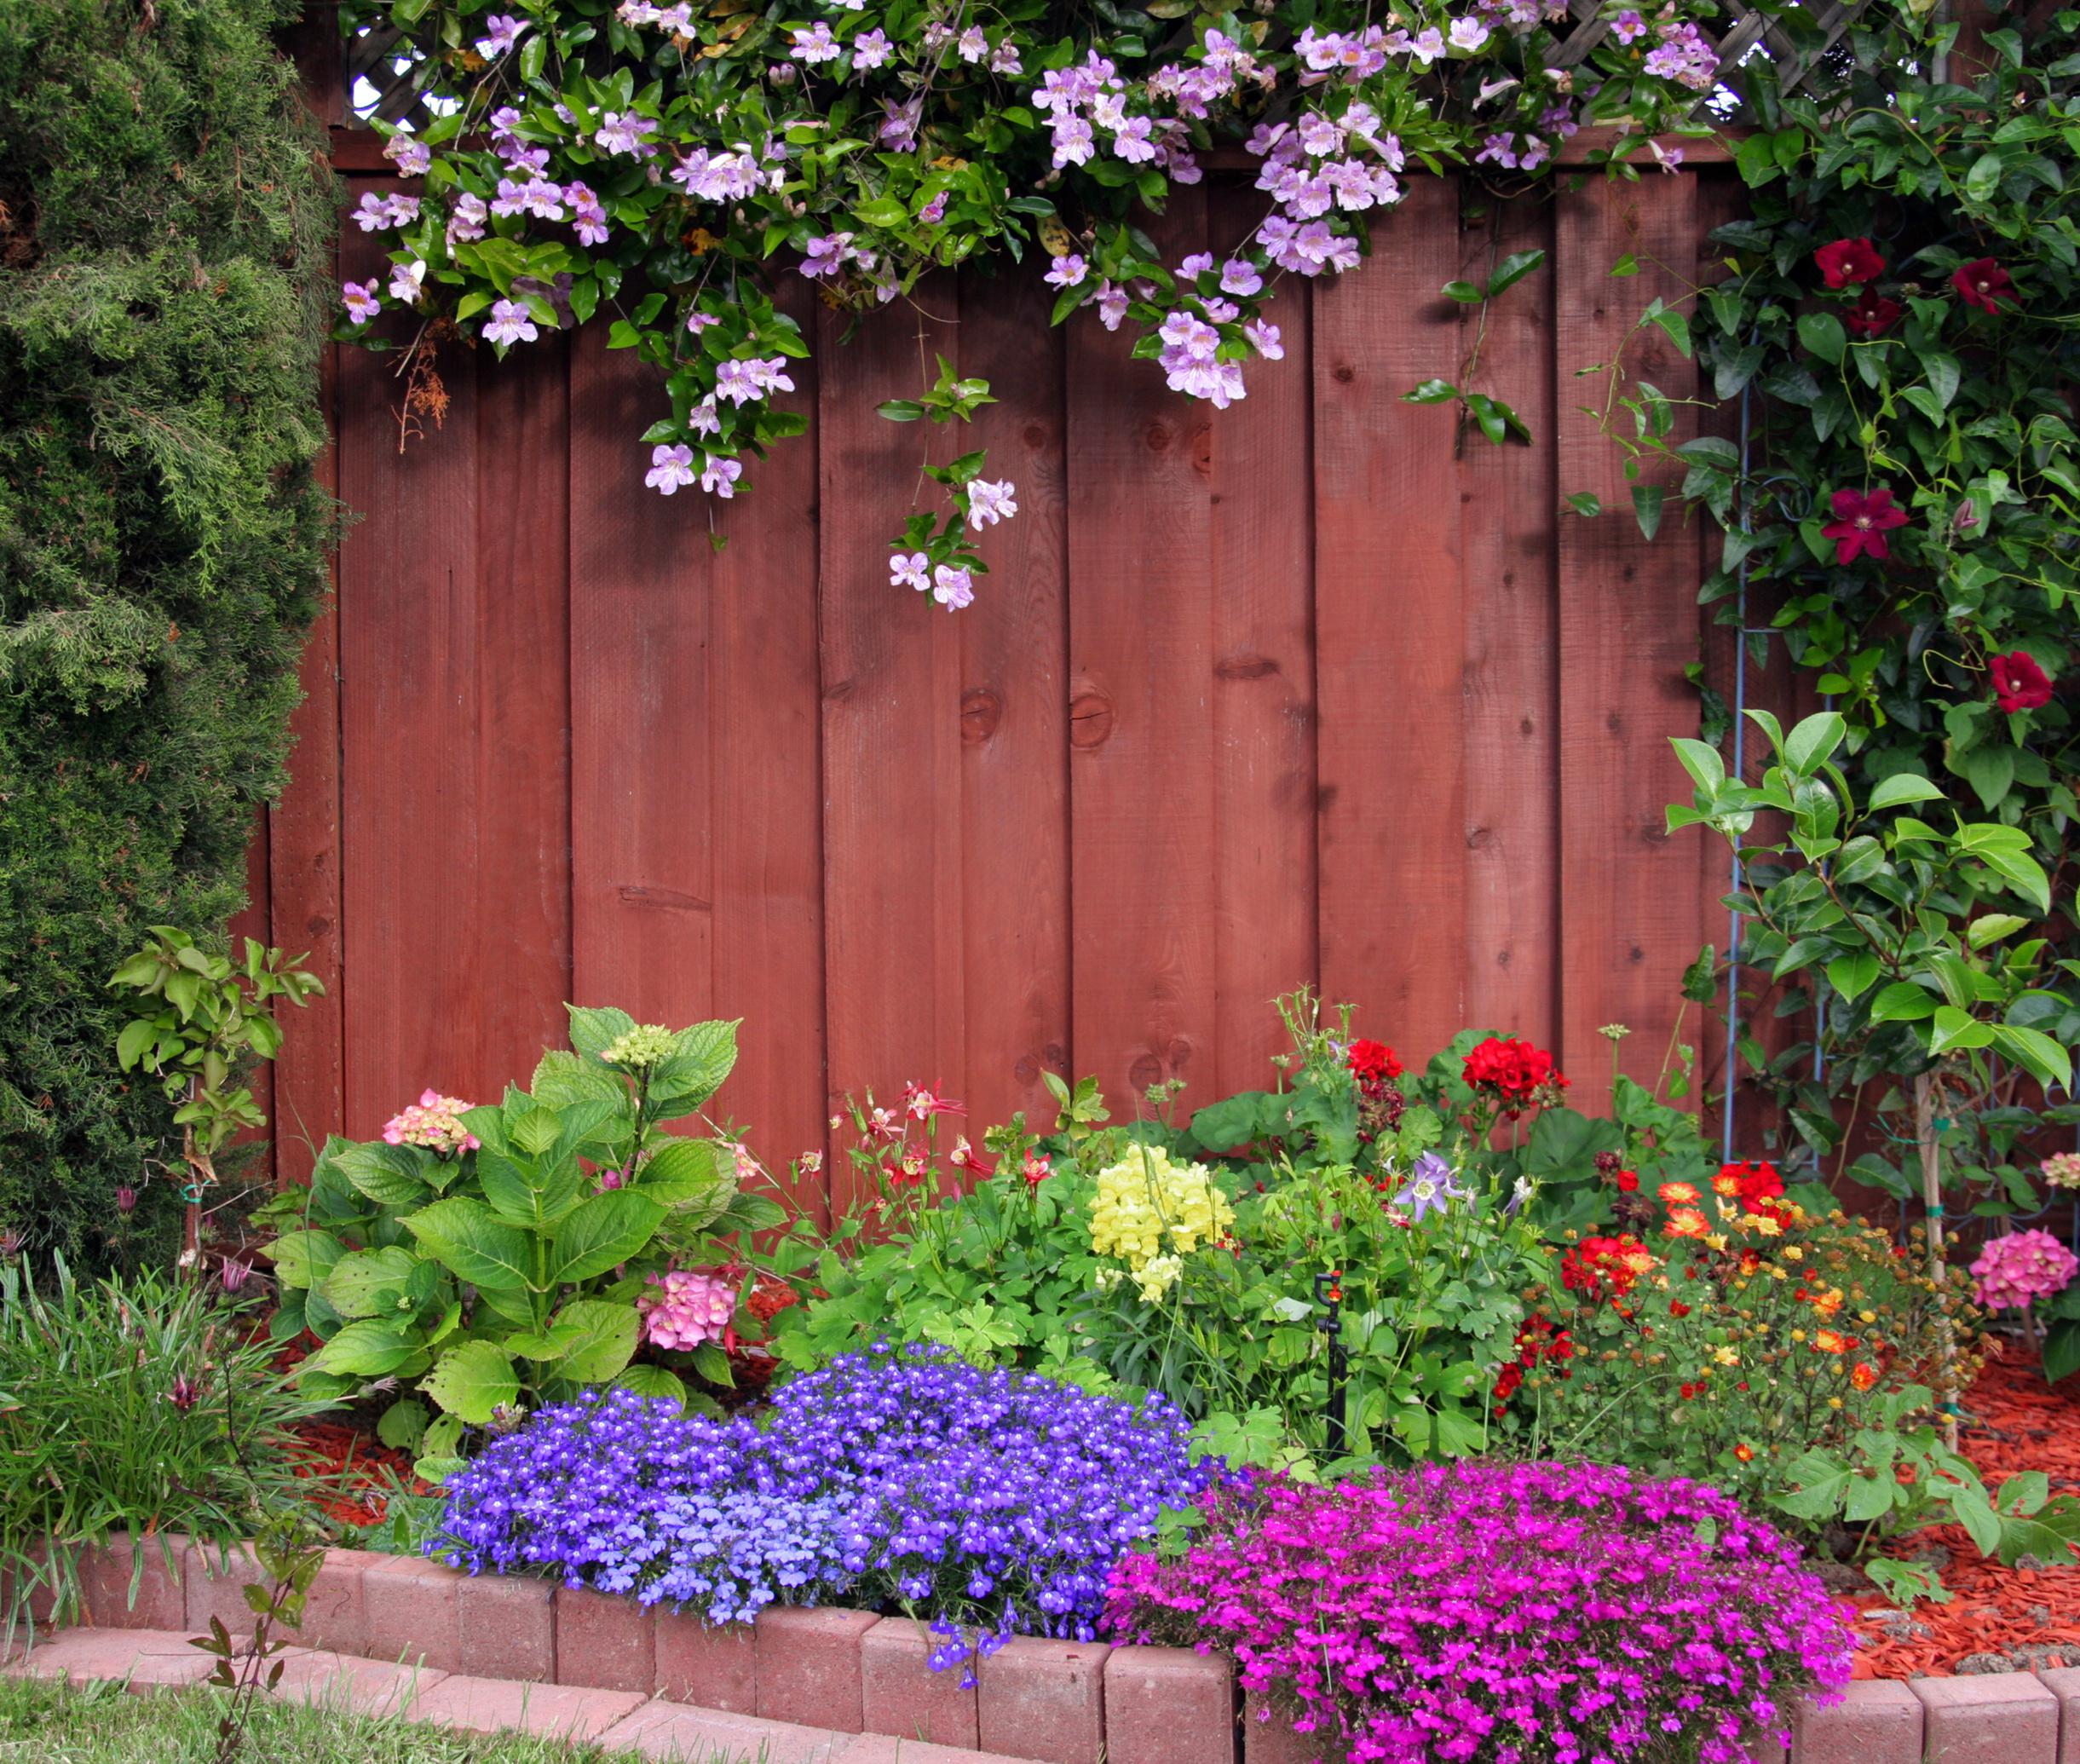
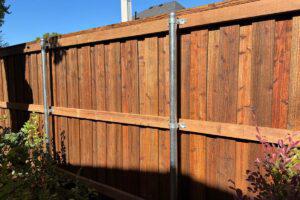
A well-stained fence not only enhances the beauty of your yard but also protects your investment from weather damage and wear. If you’re ready to tackle this DIY project, follow our comprehensive guide to achieving a professional-grade finish.
Materials you’ll need to stain a wood fence:
Before you begin, gather these essential materials and tools for a smooth process:
- Wood stain product (consider professional options like Wood Defender Fence Stains)
- Application tools (brushes, rollers, or a pressurized spray system for efficiency)
- Wood cleaner or chlorine-bleach solution (to clean the wood)
- Drop cloths (to protect vegetation and nearby surfaces)
- Painter’s tape (to cover adjacent areas)
- Gloves and safety glasses (for personal protection)
- Stir sticks (to mix the stain thoroughly)
- Rags (to wipe excess stain)
- Optional but useful:
- Deck brightener
- Pressure washer (if needed to remove old water-based stain)
Step-by-step guide to staining your fence
1. Prepare the fence
Preparation is crucial for a flawless result.
- Clean the wood thoroughly using a wood cleaner or a chlorine-bleach solution to remove dirt, mold, mildew, and stains.
- If the fence has a old water-based stain on it, use a pressure washer to remove it. Be careful not to damage the wood by using too high of a spray setting. Check out this blog on how to pressure wash a fence from our friends at Window Hero.
- Allow the wood to dry completely. Generally, this takes 24 to 48 hours, depending on the weather.
Pro Tip: Avoid sanding your fence beforehand as it can close the wood’s pores, preventing proper stain absorption.
2. Protect the surroundings
Staining can be a messy process, so take precautions to shield nearby areas so there is less clean-up later.
- Lay down drop cloths to protect your lawn, plants, outdoor furniture and walkways.
- Use painter’s tape to shield surfaces like siding, gates, or metal posts that shouldn’t be stained.
3. Mix the stain
Open the stain and stir it thoroughly with a stir stick. For the best results, transfer the stain to a clean container and add a small amount of mineral spirits to loosen any settled pigment at the bottom of the original can. Then pour it back into the can and mix again to ensure consistent color and texture.
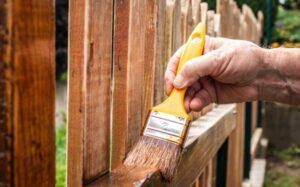
4. Apply the stain
It’s time to bring your fence to life!
- Use your tool of choice (brush, roller, or pressurized spray system). While spraying is the most efficient for large fences, brushes and rollers may be better for smaller, detailed areas.
- Apply the stain evenly, ensuring total coverage for wood saturation. Move methodically to avoid missing areas or overlapping sections too long.
Pro Tip: Avoid staining in direct sunlight as it may cause the stain to dry unevenly, resulting in lap marks or streaks.
5. Wipe excess stain
Excess stain can create a sticky, uneven finish. Use rags to gently wipe off any excess product.
6. Allow to dry
Follow the manufacturer’s instructions for drying time. Most stains take between 24-48 hours to dry completely, depending on the weather and the product used.
7. Optional second coat
If you prefer a richer color or deeper protection, apply a second coat of stain. Be sure to wait until the first coat has dried thoroughly before starting.
8. Clean up
- Clean your tools immediately after use following the product’s specifications for cleanup; mineral spirits may help.
- Dispose of any used rags properly. These are a fire hazard and should be soaked in water before being sealed in a metal container.
Why staining your fence matters
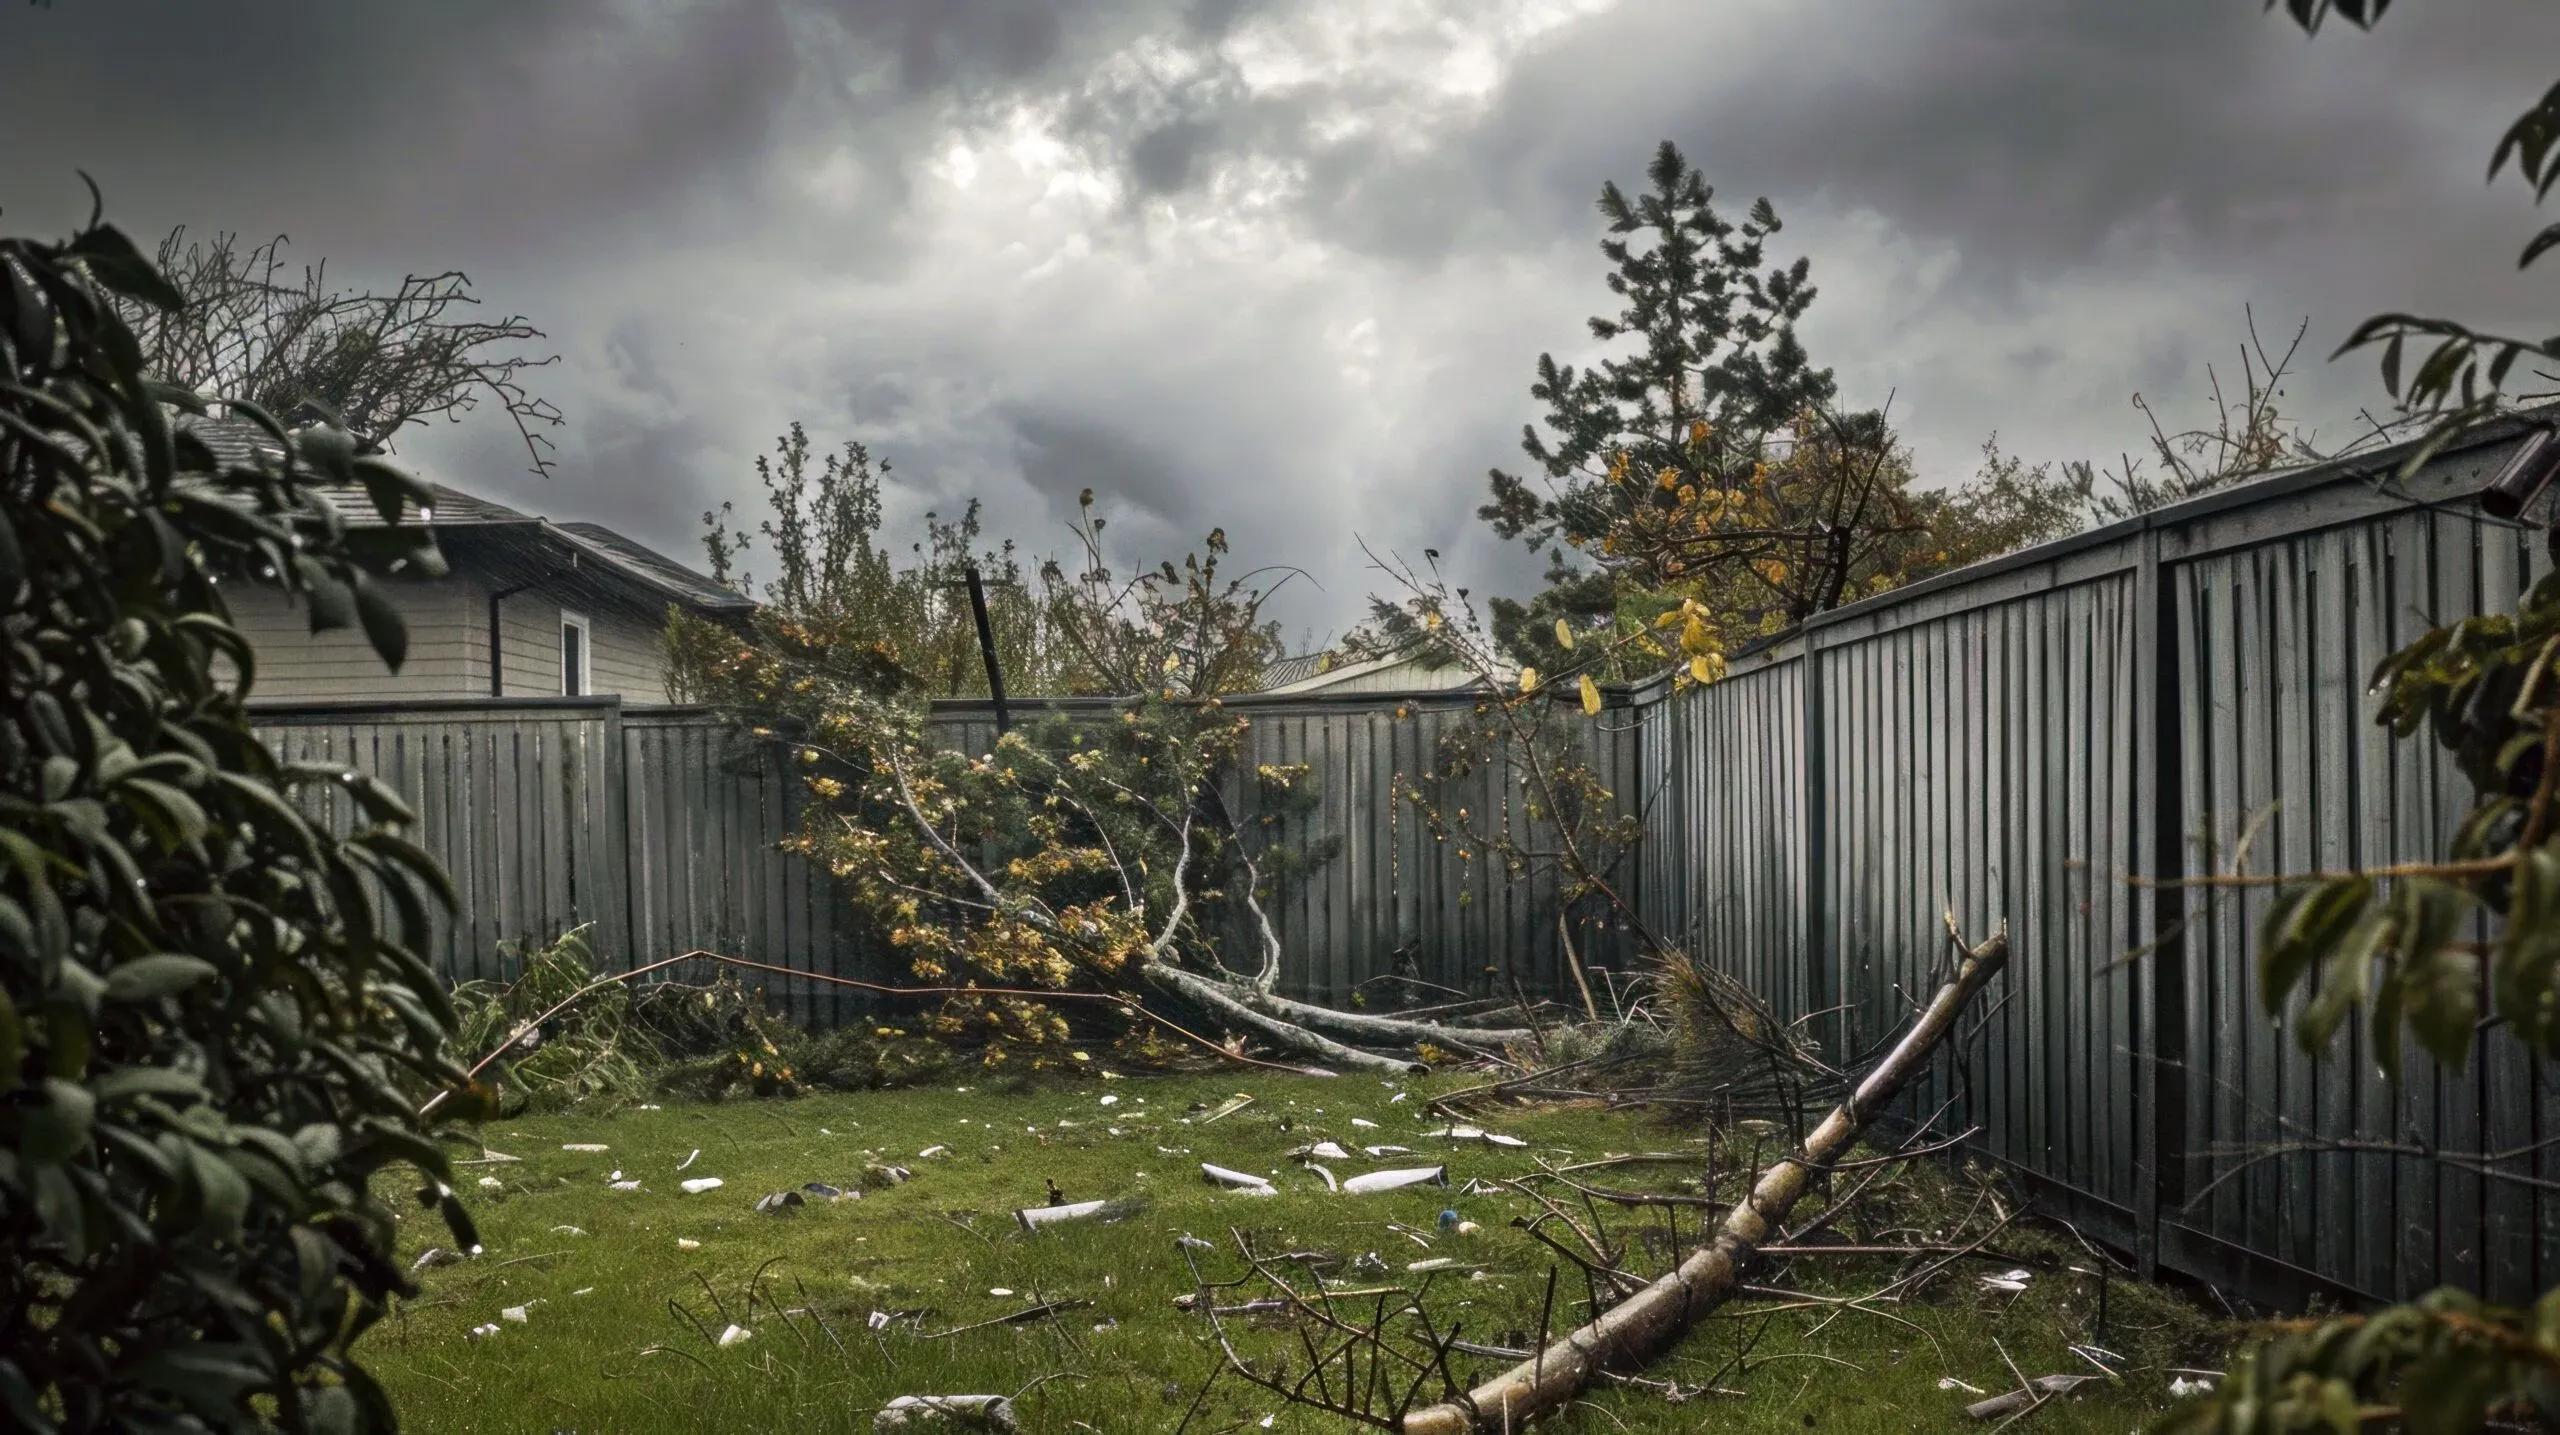
Staining your fence isn’t just about aesthetics. A good stain will protect your fence from harmful UV rays, moisture, and wear, extending its lifespan significantly. Plus, a well-maintained fence enhances your home’s curb appeal and overall property value.
FAQs: Common questions about staining your fence
How long do I need to wait after cleaning my fence to stain it?
It is crucial to allow your fence to dry completely after cleaning before applying stain. Typically, this process can take anywhere from 24 to 48 hours, depending on weather conditions such as temperature, sunlight, and humidity. For the best results, ensure that the wood feels dry to the touch and that no moisture is trapped in the wood, as staining a damp surface can lead to uneven absorption and reduce the longevity of the finish. Always consult the specific recommendations of your stain product for optimal drying and preparation guidelines.
What is the best time of year to stain your fence?
The best time to stain your fence is during late spring, summer, or even early fall when the weather is consistently warm and dry. Ideal conditions for staining are temperatures between 50°F and 90°F, with minimal humidity and no rain forecasted for at least 24 to 48 hours after application. These conditions allow the stain to dry and cure properly, ensuring an even finish and maximum durability. Avoid staining during extremely hot or cold weather, as these extremes can impact the performance of the stain and its ability to absorb into the wood effectively.
How often do I need to re-stain my fence?
The frequency of re-staining your fence depends on various factors, including the type of stain used, the climate, and the level of exposure to sunlight and moisture. On average, fences treated with a semi-transparent stain may need to be re-stained every 2 to 3 years, while solid stains can last around 4 to 5 years. Regularly inspecting your fence for signs of wear, such as fading, peeling, or water absorption, can help determine when re-staining is necessary. Proper maintenance, like cleaning and occasional touch-ups, can also extend the lifespan of the stain and keep your fence looking its best.
What color options are available for fence staining?
Fence stains come in a wide variety of color options to suit different aesthetic preferences and complement the overall design of your outdoor space. Semi-transparent stains typically enhance the natural beauty of the wood by allowing the grain to show through, and they are available in shades like cedar, redwood, gray, and walnut. Solid stains, on the other hand, provide a more opaque finish and come in an extensive range of colors, from neutral tones like beige and brown to more bold choices like charcoal or forest green. With so many options available, it’s easy to find a stain color that matches your personal style and enhances your property’s curb appeal. Consulting with professionals or sampling the stains beforehand can help you make the best decision for your fence.
Can all types of wood be stained?
While most types of wood can be stained, certain wood species take stain more effectively than others. Softwoods like pine, cedar, and spruce are commonly used for fences and can be stained with ease. Hardwoods, such as oak and mahogany, also absorb stain well but may require additional preparation, like sanding, to ensure a smooth application. Pressure-treated wood is another popular choice for fences, though it often needs to dry thoroughly before staining, as its moisture content can affect stain absorption. For best results, it’s important to understand the characteristics of the wood you’re working with and choose a stain suitable for its type. When in doubt, consulting a professional can provide valuable guidance for your specific project.
Are fence staining and fence sealing the same?
While fence staining and fence sealing are related, they are not the same. Staining a fence involves applying a product that enhances the wood’s natural color and adds pigment, often with the added benefit of UV protection to prevent fading. Sealing, on the other hand, focuses on protecting the wood from moisture, helping to prevent water damage, rot, and warping. Some products combine both staining and sealing properties, offering an all-in-one solution. However, it’s important to assess your specific needs and the type of wood used to determine whether a stain, a sealant, or a combination of both is best for your fence.
Final thoughts
Staining your fence may seem intimidating, but with the right tools, preparation, and technique, you can achieve professional-level results. Follow this guide, and your fence will be the envy of the neighborhood.
If you find DIY fence staining to be a chore, reach out to professionals at Top Rail Fence. We’d be happy to provide high-quality fence staining services for your fence.
Looking to paint your fence instead? Check out our blog on fence painting ideas.